


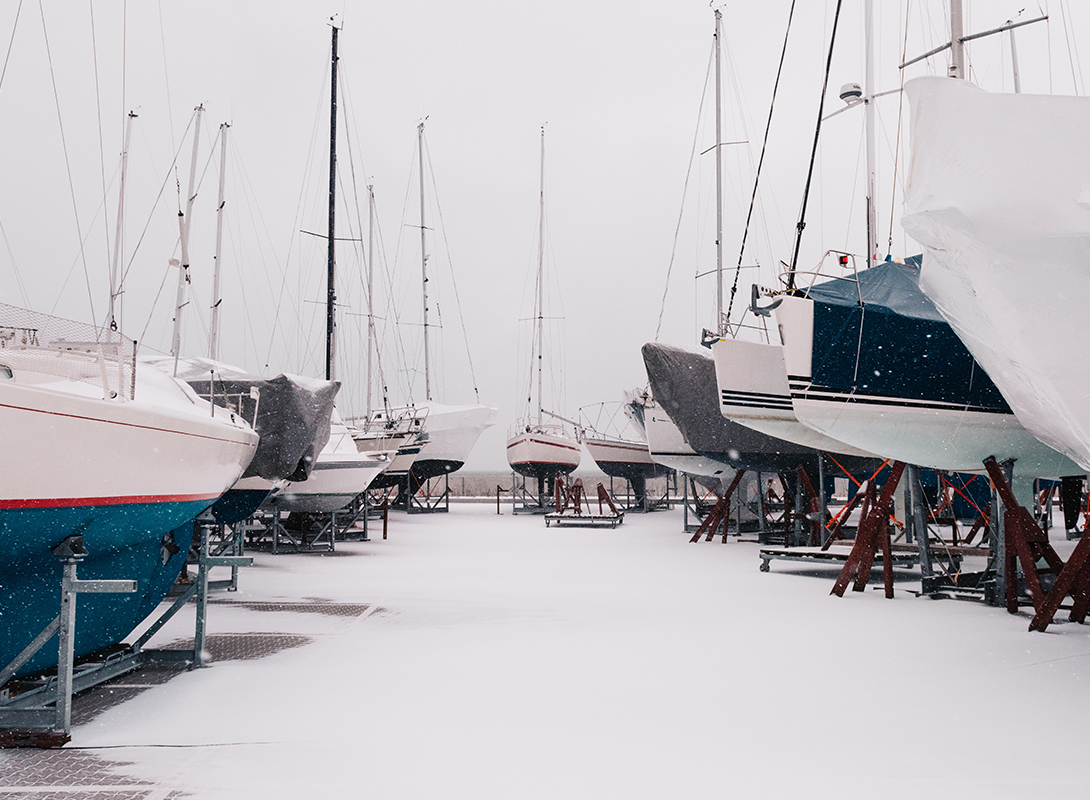
How to Inspect Your Boat After Winter Storage
A boat can look fine on the trailer, in the cradle, or under the cover, and still be one bad launch away from a ruined weekend. Winter has a way of leaving behind the kind of damage you do not notice until the engine runs hot, the bilge fills, or a dead battery turns the first trip of the season into a dockside repair job.
| Check area | What to look for | Why it matters |
| Cracks, blisters, and impact damage | Look for gelcoat cracks, spidering, blisters, gouges, keel damage, and any patch or repair that looks rough, soft, or suspect. Pay close attention around chines, strakes, the keel, and other spots that take abuse during hauling and storage. | Small hull damage has a way of getting expensive once the boat is back under load. What looks cosmetic on land can turn into water intrusion, worsening structural stress, or a repair that gets bigger the longer you leave it alone. |
| Thru-hulls and seacocks | Check for corrosion, cracks, loose backing hardware, dried or failing sealant, and handles that do not move cleanly. If a seacock is stiff, frozen, or looks questionable, treat that as a repair item, not something to “keep an eye on.” | A bad thru-hull is not a minor problem once the boat is floating. These fittings sit below or near the waterline, and any weakness here can turn into a leak you do not have time to negotiate with. |
| Trim tabs and transducers | Look for bent trim tab planes, loose brackets, damaged fasteners, cracked transducer housings, pinched wires, and impact marks from trailering, blocking, or debris. Make sure nothing is hanging loose or mounted at an odd angle. | These parts live low on the boat and tend to get hit first. Damage here can affect handling, depth readings, sonar performance, or watertight integrity if mounting hardware or seals were compromised. |
| Bottom paint condition | Check for flaking, chalking, bare spots, uneven wear, peeling edges, and any areas where the coating is clearly spent. On trailered boats, look closely where bunks or rollers contact the hull, since those spots often hide wear until the boat is moved. | Worn bottom paint means less protection, faster growth, and more work later. If the coating is already done, it is better to deal with it before launch than after the hull is fouled and performance starts to suffer. |
| Check | What to look for | Why it matters |
| Belts, hoses, and clamps | Cracks, glazing, softness, swelling, loose clamps, rust, and any sign of seepage around fittings | These are the parts that fail quietly in storage and show themselves once heat, pressure, and vibration are back in the picture |
| Cooling system (raw water / closed loop) | Cracked strainers, split hoses, coolant level, dried residue, leaks, and damaged fittings | Cooling issues get expensive fast, and winter freeze damage often shows up here first |
| Impeller | Brittle vanes, deformation, age, or an unknown service history | A tired impeller can look almost fine right up until the engine starts running hot |
| Fuel system | Old fuel, water contamination, clogged filters, soft or cracked fuel lines, and a weak or cracked primer bulb | Bad fuel and weak delivery components are a common reason boats crank, stumble, or run rough after storage |
| Outboard-specific inspection | Lower unit condition, prop damage, mounting hardware, wiring, and corrosion under the cowling | Outboards hide a lot under the cover, and small issues there can turn into cooling, shifting, or reliability problems |
| Inboard and sterndrive differences | Bellows, gimbal area, ventilation, steering linkages, and shift components | These systems add a few failure points that do not forgive neglect, especially after a long layup |
| Diesel considerations | Water in fuel, dirty filters, sludge, and signs of microbial contamination | Diesel usually stores better than gas, but contaminated fuel can still cause hard starts and expensive headaches |
| Check | What to look for | Why it matters |
| Battery condition | Swollen case, cracks, leaks, loose hold-downs, low electrolyte in serviceable batteries, or anything that suggests age or abuse | A battery can show voltage and still be on its way out, and obvious physical damage means it is not worth trusting |
| Terminals and connections | Corrosion, loose cable ends, frayed wire, worn lugs, and missing or failing terminal protection | Dirty or weak connections cause hard starts, charging issues, and the kind of electrical problems that waste time fast |
| Voltage and load | Resting voltage, charger response, and whether the battery holds up under load instead of dropping off immediately | This tells you whether the battery is actually serviceable or just barely alive after a winter on standby |
| Wiring and rodent damage | Chewed insulation, corrosion, greened-up copper, loose connections, brittle wire jackets, and signs of nests or debris | Storage gives moisture and rodents plenty of time to do damage, and bad wiring can create anything from dead accessories to serious safety issues |
| Check | What to look for | Why it matters |
| Antifreeze in lines | Leftover antifreeze, odd color or smell in the water, and any sign the system was not fully flushed | If antifreeze is still sitting in the lines, the system is not ready for use, and it can also hide water quality or flow issues |
| Pumps and strainers | Cracks, leaks, stuck pump operation, brittle hoses, debris in strainers, and fittings that look stressed or loose | Pumps and strainers are common failure points after storage, especially if anything froze, dried out, or sat with residue in it |
| Head and holding tank | Leaks, odor, stiff valves, cracked hoses, and any signs the system is not moving or sealing properly | Sanitation problems get unpleasant fast, and they are a lot easier to deal with at the dock than once the boat is in use |
| Livewell and washdown systems | Weak flow, leaks, cracked fittings, clogged nozzles, and pumps that hum but do not move water | These systems often get ignored until the first trip, which is exactly when a split hose or dead pump starts wasting time |
| Check | What to look for | Why it matters |
| Bilge pump and float switch | Pump operation, automatic float switch response, wiring condition, discharge flow, and any debris that could jam the switch or clog the pump | A bilge pump that only works on paper is not much use once water starts coming in |
| Fire extinguishers | Charge status, expired inspection dates, corrosion, damaged brackets, and extinguishers that are loose or hard to reach | You want them charged, secure, and ready before there is smoke in the compartment |
| Life jackets and flares | Torn fabric, broken buckles, missing gear, expired flares, and anything waterlogged, sun-damaged, or not fit for service | Safety gear does not help much if it is expired, damaged, or buried where nobody can get to it |
| Navigation lights and VHF | Light function, cracked lenses, corroded wiring, radio power-up, antenna condition, and a clean radio check | These are basic safety systems, not extras, and they matter even more when visibility drops or something goes wrong |
| Check | What to look for | Why it matters |
| Tires and bearings | Check for dry rot, sidewall cracking, low tread, uneven wear, low pressure, and any play, noise, or heat from the bearings. If the trailer sat for months, do not assume the running gear is ready just because it held air. | Trailer problems usually show up on the road, not in the driveway. Bad tires or failing bearings can leave you stranded before the boat ever gets near the ramp. |
| Trailer lights | Test brake lights, turn signals, running lights, wiring connections, and plug condition. Look for cracked lenses, corroded contacts, and wiring that has been pinched, rubbed through, or chewed up in storage. | Lights are basic road safety, and they are one of the first trailer systems to quit after sitting. It is easier to fix a bad ground at home than in a launch queue or on the shoulder. |
| Winch strap and safety chains | Look for frayed webbing, rusted hooks, bent hardware, weak attachment points, and chains that are worn, undersized, or dragging. Make sure everything is secured properly and still worth trusting under load. | The strap and chains are what keep the boat where it belongs when the trailer shifts, stops, or hits a bump. If either one is questionable, replace it before it gets the chance to fail at speed. |
| Check | What to look for | Why it matters |
| Standing rigging | Inspect shrouds, stays, turnbuckles, swage fittings, cotter pins, and terminals for corrosion, cracks, broken strands, rust staining, or seized adjustment points. Pay close attention to anything that looks bent, uneven, or harder-used than the rest of the rig. | Standing rigging carries constant load, and small defects do not stay small once the boat starts sailing again. A failure here can get expensive fast and, in the wrong moment, dangerous. |
| Running rigging | Check halyards, sheets, reefing lines, clutches, blocks, and organizers for chafe, flat spots, stiffness, UV damage, worn covers, and hardware that no longer runs cleanly. Look closely at high-load areas and anywhere the line passes through a sheave or clutch. | Running rigging usually gives you some warning before it fails, but only if you bother to look. Worn lines and tired hardware make sailhandling harder, less predictable, and more likely to go sideways when load comes on. |
| Chainplates | Look for leaks, rust staining, cracked sealant, corrosion, deck movement, elongation around fasteners, and any sign the plate or surrounding structure has been compromised. Check both topside and below if access allows. | Chainplates transfer rig load into the boat, which makes them too important to ignore. If water has been getting in around them or corrosion has started where you cannot easily see it, the problem can be a lot bigger than it first appears. |