


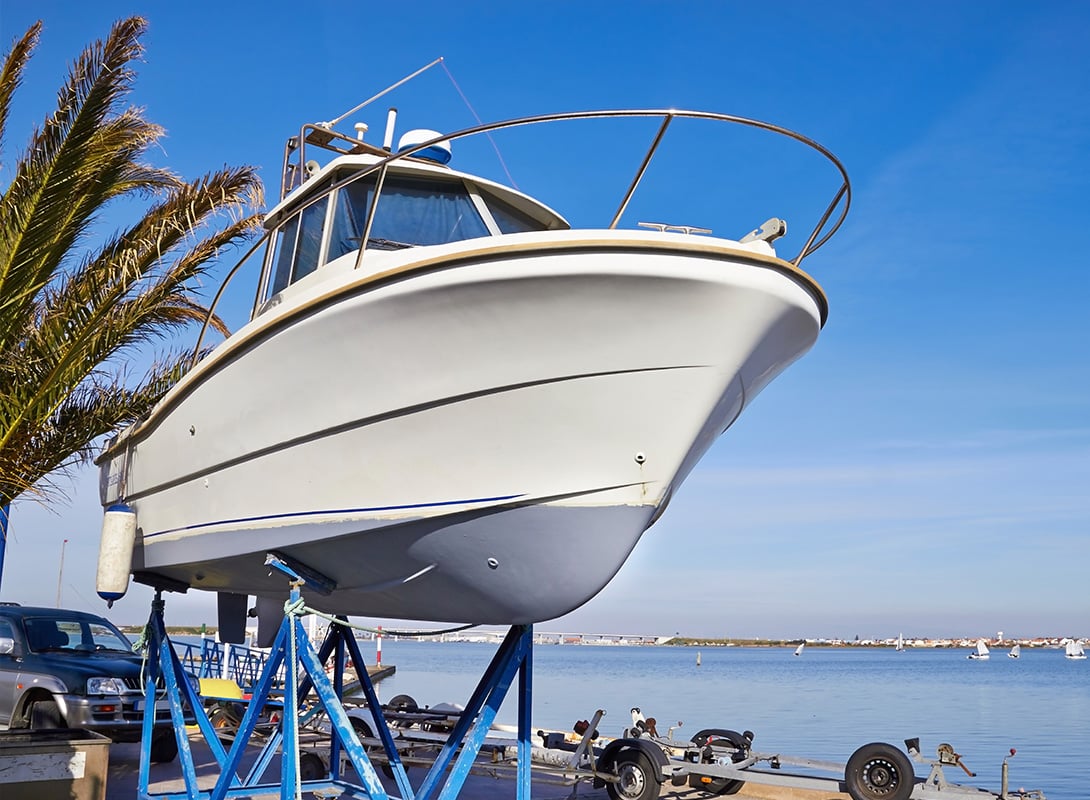
How to Bottom Paint Your Boat (Complete Guide for All Boaters)
Bottom paint is so much more than a cosmetic touch. It protects your hull from growth, corrosion, and long-term damage that can quietly cost you time and money. And when done right, it keeps your boat performing the way it should, whether it lives in saltwater, freshwater, or spends half its life on a trailer.
| Region | What You’re Up Against | Best Timing to Paint | Seasonal Tie-in & Quick Advice |
| Northeast & Great Lakes | Short season, heavy spring demand, cold-weather layup | Haul-out (fall) or pre-launch (early spring) | Spring commissioning is a rush, so plan paint, prep, and cure time before launch week. Fall haul-out is ideal for inspection, repairs, and setting yourself up for an easier spring. |
| Florida & Gulf Coast | Heavy, year-round fouling pressure and long warm-water season | Shoulder seasons when dry time can be scheduled (often spring or fall) | Expect more frequent touch-ups and more aggressive antifouling needs. Tie timing into hurricane prep so you’re not doing a paint job with a storm in the forecast. |
| Pacific Northwest | Moisture, marine growth, and mildew risk during storage | Dry window during haul-out or before peak season | Moisture management matters, so hull prep is non-negotiable. Treat paint as part of a broader hull-prep routine: clean, dry, sand properly, and don’t trap moisture under coatings. |
| Boating Environment | What You’re Fighting | What to Prioritize in Paint | Best Paint Type Fit | Quick Pro Tip |
| Saltwater (Florida, Northeast coasts) | Heavy marine growth, barnacles, corrosion pressure, long wet time | Strong antifouling performance, durability, and season-long protection | Ablative for most boats that sit; hard paint for faster powerboats and frequent scrubbing | If the boat lives in warm saltwater, don’t underpaint it. Fouling gets expensive fast. |
| Freshwater (Great Lakes) | Lighter growth pressure, shorter season, winter haul-out cycles | Seasonal protection, easy recoating, and clean prep for spring launch | Ablative is usually the easiest and most forgiving | Freshwater is easier on paint, but sloppy prep will still make it fail early. |
| Brackish (Chesapeake, ICW) | High nutrient water, mixed salinity, aggressive slime and growth | Paint that handles mixed conditions and steady fouling pressure | Ablative is a strong default; hard paint if you scrub often or run hard | Brackish water fools people. Treat it like high-fouling water and you’ll stay ahead of it. |
| Boat Size / Type | Rough Paint Needed (Per Coat) | Notes |
| 18–22 ft trailer boat | ~1 gallon | Simple hull shape and smaller wetted surface area, but expect wear at bunk and roller contact points. |
| 25–30 ft powerboat | ~1–2 gallons | Wider beams and more bottom area add up quickly, especially around chines and running surfaces. |
| 30–35 ft sailboat (keel adds area) | ~2 gallons | Keel and rudder increase surface area, and high-wear edges usually deserve an extra pass. |
| 35–40 ft cruiser | ~2–3 gallons | Bigger hull, more wetted surface, and more fittings—plan extra if you’re doing multiple coats or heavy fouling protection. |
| Removal Method | Best For | Pros | Cons | Recommended Products |
| Mechanical removal (sanding / scraping) | When old paint is thick, flaking, or you need to level heavy buildup | Faster, cheaper, straightforward, and offers good control over how much comes off | Messy and dusty, harder on lungs and skin, and easy to gouge gelcoat if you get aggressive | Random-orbit sander, sanding discs (appropriate grit), carbide scraper, vacuum or dust extraction, PPE (respirator, goggles, gloves), drop cloths, plastic sheeting |
| Chemical stripping | When you want less airborne dust, or the hull shape and detail makes sanding brutal | Less airborne dust, reaches corners and contours, and reduces sanding load afterward | Slower, sticky mess, still requires scraping and cleanup, and needs strict containment and disposal | Marine paint stripper (fiberglass-safe), plastic scrapers, chemical-resistant gloves, goggles or face shield, solvent-rated respirator, containment sheeting, solvent or cleaner for final wipe-down |
| Existing Surface / Coating | Primer or Tie-Coat Needed? | New Bottom Paint Options | Notes (What Matters Most) |
| Bare fiberglass / gelcoat | Yes (typically) | Ablative or Hard | Use an epoxy primer or barrier/tie-coat system first, then paint. |
| Fresh epoxy barrier coat | No | Ablative or Hard | Paint within the specified window for best adhesion. |
| Cured barrier coat (past recoat window) | Yes (tie-coat recommended) | Ablative or Hard | Scuff sand, then tie-coat before bottom paint. |
| Existing ablative paint (sound, not peeling) | No (usually) | Ablative (best match) | Scuff sand and clean well—avoid painting over chalky residue. |
| Existing hard paint (sound, not peeling) | No (usually) | Hard (best match) | Needs a solid scuff for adhesion—glossy hard paint is a common failure point. |
| Switching paint type (hard ↔ ablative) | Yes (recommended) | Ablative or Hard | Use a conversion or tie-coat so the new paint bonds instead of shearing off. |
| Unknown paint history | Yes (best practice) | Ablative or Hard | Test a small patch first, then stabilize with tie-coat to reduce risk. |
| Aluminum hull / aluminum running gear | Yes (aluminum-safe only) | Aluminum-safe antifouling only | Avoid copper-heavy paints on aluminum to prevent corrosion issues. |
| RIB / inflatable tubes (PVC/Hypalon) | Specialty system only | Tube-specific coatings only | Standard bottom paint can ruin adhesion on tubes—confirm material first. |
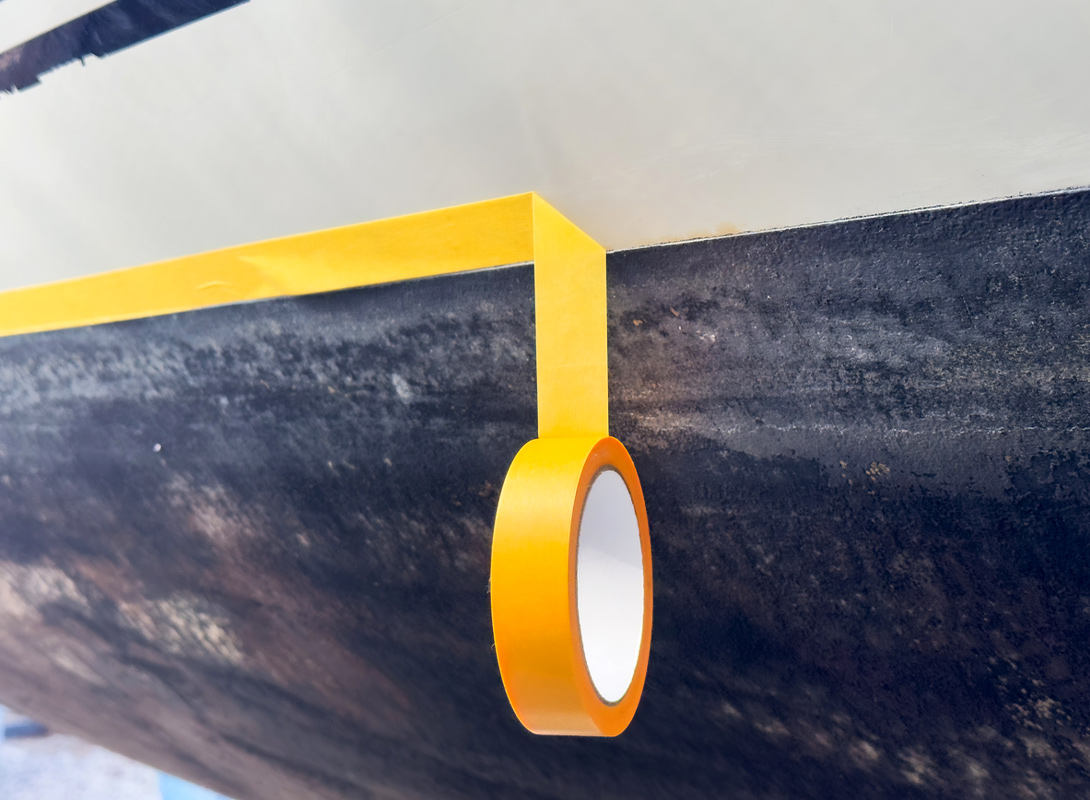
| Step | What to Do | Why It Matters | Pro Tips / Common Mistakes |
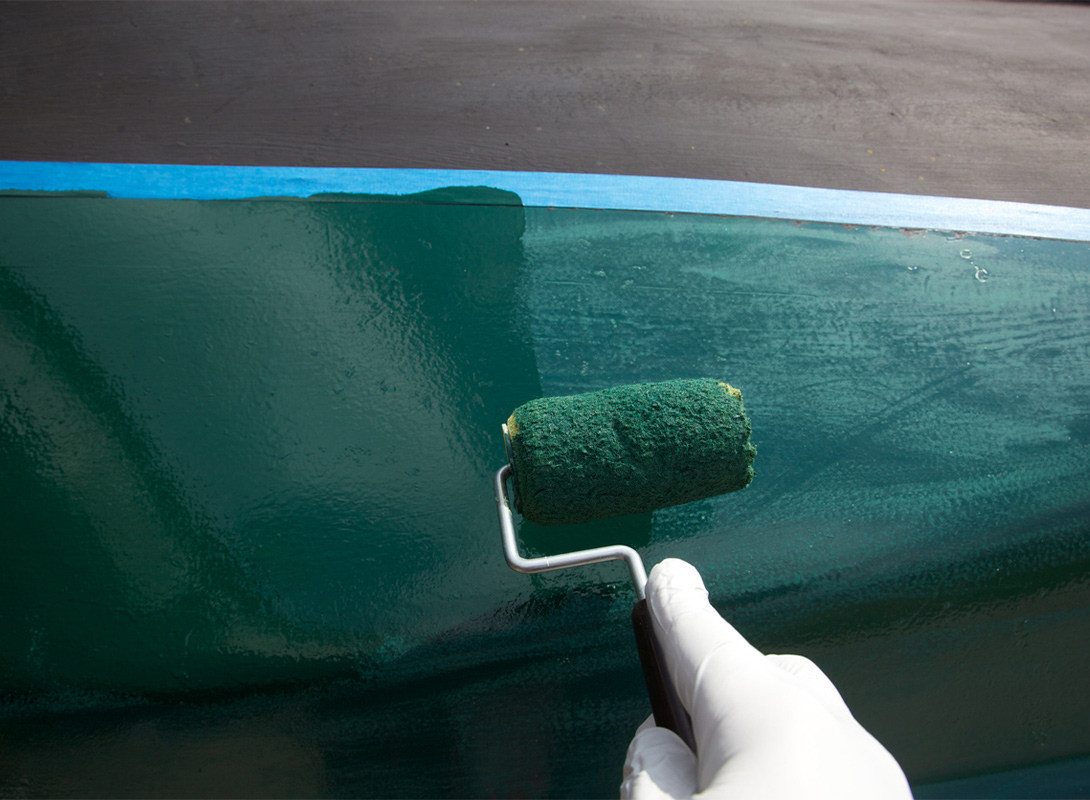
| 1 | Stir paint like you mean it (then stir again) | Biocide and cuprous oxide settles fast, and unmixed paint gives weak coverage and early failure | Stir until uniform. Re-stir every 10–15 minutes while you work. |
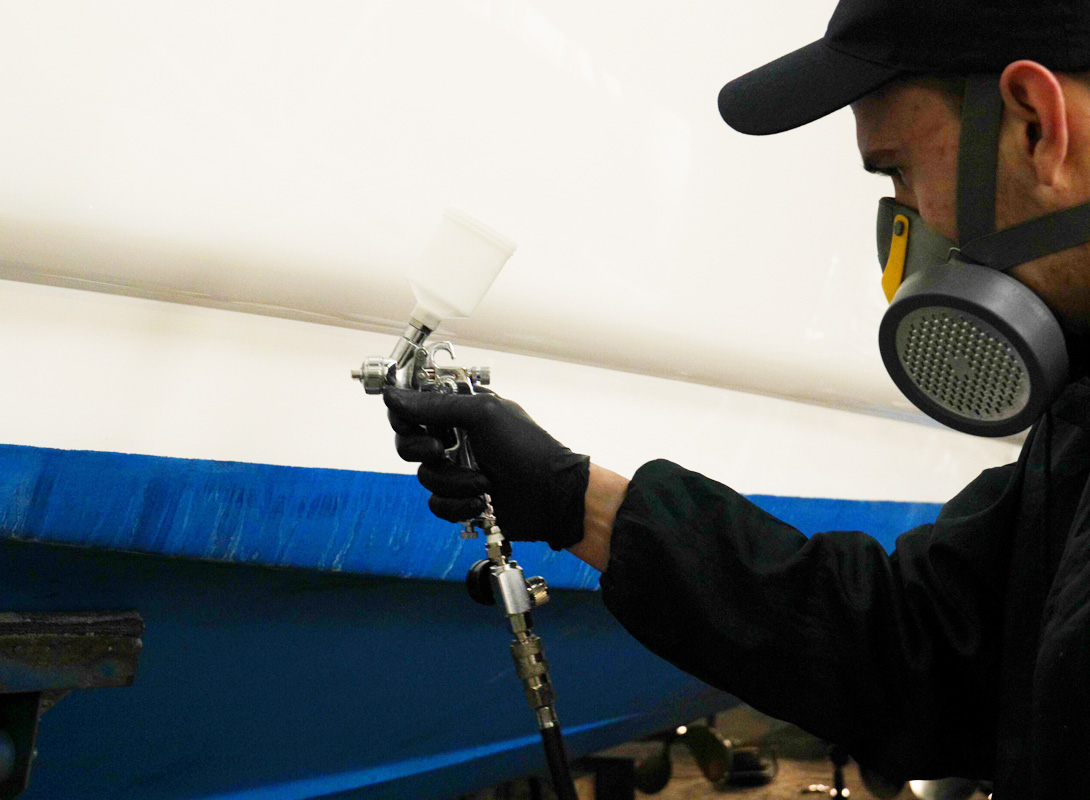
| 2 | Set up roller + brush | Low-nap roller covers fast, brush handles edges and hardware cleanly | Roller for open hull, brush for waterline, thru-hulls, strakes, chines, and tight spots. |
| 3 | Do not thin unless the manufacturer tells you to | Wrong thinner, wrong ratio, or unnecessary thinning can wreck performance | “Feels thick” isn’t a reason. Use only the approved thinner and ratio on the can. |
| 4 | Apply the first coat evenly | The first coat is the foundation—thin patches fail first | Keep a wet edge. Don’t overwork it. Fix missed spots immediately. |
| 5 | Hit wear zones before you forget | These areas burn off first and make the whole job look old early | Bow, waterline, keel leading edge, rudder, and stern/high-flow areas get extra coverage. |
| 6 | Respect recoat windows | Miss the window and adhesion can suffer | Cold, damp, late-day painting slows everything down—plan extra dry time. |
| 7 | Apply the second coat | Two full coats is the standard for most boats | Don’t stretch the last half-gallon into a full coat. Patchy coverage shows up fast. |
| 8 | Add a third coat where it counts (if needed) | Extra protection extends the life of the job | Especially smart for saltwater, high-fouling areas, and high-running boats. |
| 9 | Plan launch timing around the paint’s rules | Some paints have a max time out of water—miss it and performance drops | If the paint has a launch window, treat it like a deadline. |
| Boat Type | At-a-Glance Focus | Don’t Do This |
| Sailboats | Smooth finish, multi-season protection, extra coats on keel and rudder edges | Skip wear-zone coats or leave a rough, draggy roller texture |
| Powerboats / Center Consoles | Tough coating for speed and scrubbing, extra coverage aft/high-flow and at the waterline | Stretch paint thin or ignore stern and prop-wash burn-off zones |
| Trailer Boats | Trailer-tolerant paint, fast dry, easy recoats, plan touch-ups at bunks and rollers | Pretend bunk wear won’t happen or use paint that hates dry storage |
| Inflatables / RIBs | Specialty coatings matched to tube material (PVC/Hypalon), strict prep | Use standard bottom paint on tubes or guess the material |
| Region | Typical Recoating Rhythm | What to Watch For | Maintenance That Actually Helps |
| Florida & Gulf Coast | More frequent, often every season for many boats | Fast slime buildup, barnacles, rapid wear at waterline and stern | Regular gentle cleaning, check wear zones mid-season, plan touch-ups before it gets out of hand |
| Northeast (coastal saltwater) | Seasonal, typically once per year | Growth during peak summer, thinning at leading edges | Clean at haul-out, inspect wear zones, recoat before spring launch |
| Great Lakes (freshwater) | Often every 1–2 seasons, depending on use and storage | Slimy film, patchy wear, flaking from poor prep | Wash and scuff at haul-out, spot-touch thin areas, don’t paint over chalky residue |
| Chesapeake / ICW (brackish) | Usually every season, sometimes more if fouling is heavy | Heavy slime, stubborn growth, uneven wear | Stay ahead with regular cleaning, add extra coats in wear zones, don’t underpaint for “one more year” |
| Pacific Northwest | Seasonal to 1–2 seasons, depending on storage and moisture | Marine growth plus moisture-related adhesion issues | Keep prep dry and clean, avoid trapping moisture under coatings, inspect for early peeling or soft spots |
The Complete Guide to Boat Bottom Paint
How To Paint the Topside of Your Boat
How to Paint a Fiberglass Boat

Hull Prep DIY Guide
Covers sanding, cleaning, repairs, and surface prep so your paint actually bonds to the boat’s surface.

Guide to Choosing the Right Anode for Your Boat
Helps you match anodes to your water type and stop corrosion before it starts.
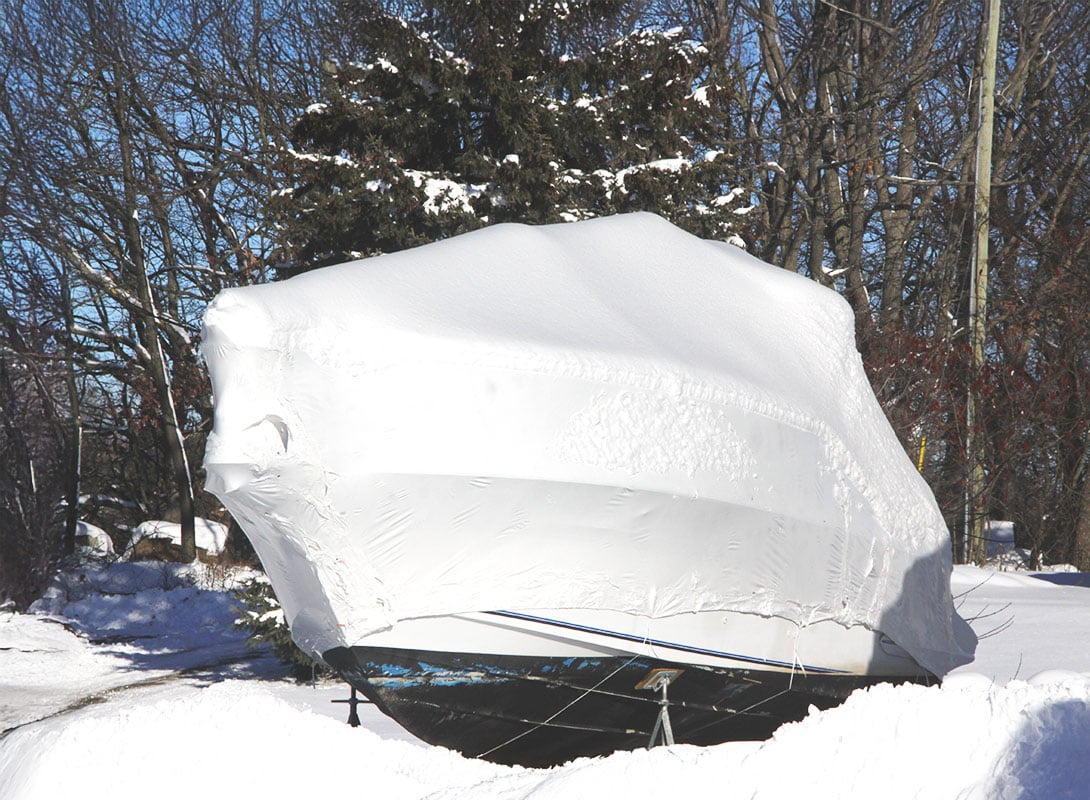
Boat Winterization Guide: How to Protect Your Boat for the Off-Season
A full off-season checklist that pairs perfectly with haul-out projects like bottom paint and hull inspection.