


How to Paint a Fiberglass Boat (Step-by-Step Guide)
Painting a fiberglass boat is one of the most effective ways to restore its appearance, protect it from the elements, and extend its usable life. Done right, a fresh paint job can dramatically improve gloss, reduce oxidation, and make routine maintenance easier.
| Step | Task | Key Actions | Why It Matters |
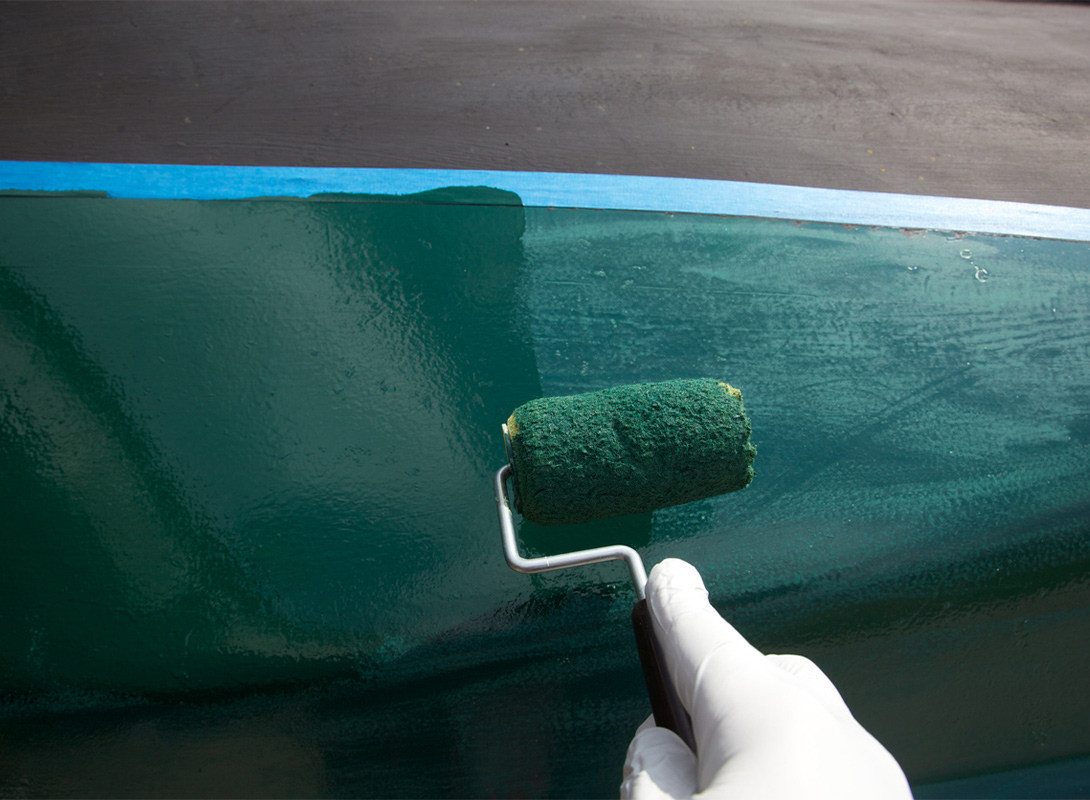
| 1 | Wash & Degrease | Wash with marine soap, then wipe down with a dewaxer using clean rags | Removes wax, oils, and contaminants that cause fisheyes and paint failure |
| 2 | Repair Damage | Fix chips, scratches, gouges, and cracks using epoxy, fiberglass kits, and fairing compounds | Prevents flaws from showing through paint and worsening over time |
| 3 | Sand Correctly | Sand with proper grits: 220–320 (topside), 80–120 (bottom), 120–180 (old gelcoat), 180–220 (painted hulls) | Creates proper surface so paint adheres and lasts |
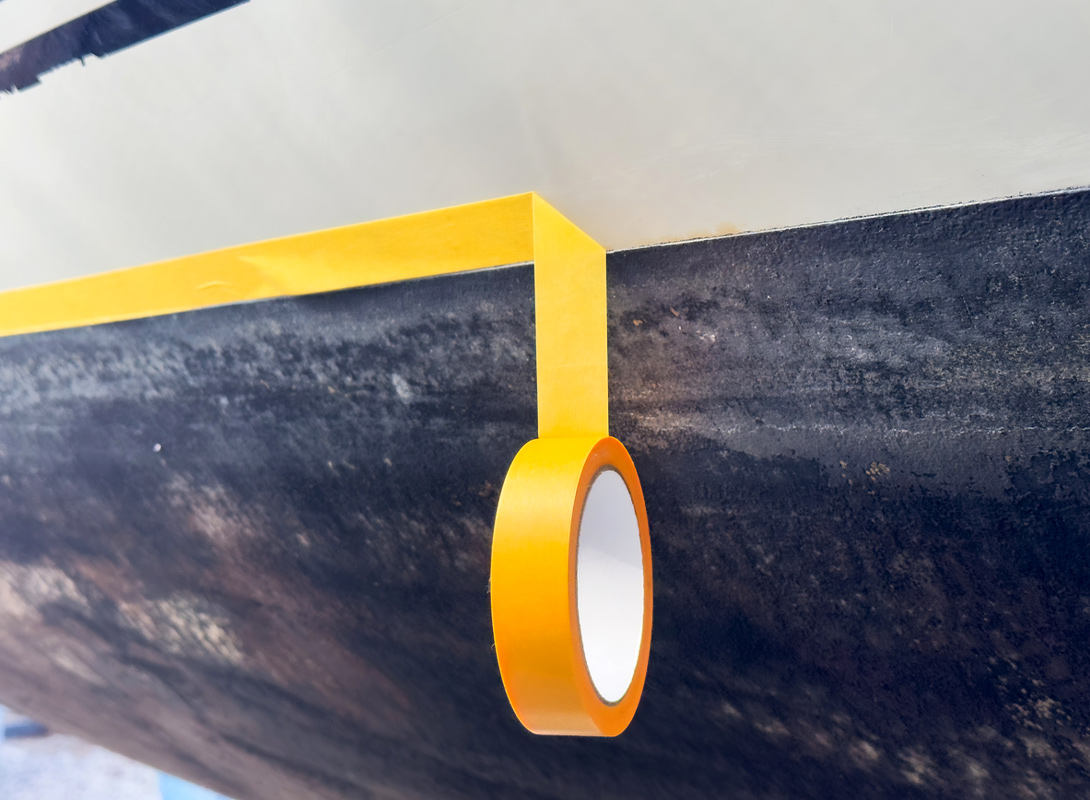
| 4 | Mask Off Areas | Tape waterline, rails, and hardware using blue tape or fine-line tape for sharp edges | Protects clean lines and prevents paint bleed or overspray |
| 5 | Apply Primer (If Needed) | Prime bare fiberglass, repairs, or heavily sanded areas | Improves adhesion, seals repairs, and ensures even color |
| 6 | Final Cleaning | Solvent wipe, then use tack cloth; control dust | Ensures a clean surface so debris doesn’t ruin the final finish |
| Task | What to Know | Why It Matters |
| Cure Times | One-part paints cure faster; two-part paints take longer and need tighter conditions | Prevents soft paint, poor gloss, or premature wear |
| Remove Masking | Pull tape while paint is slightly soft, not fully hardened | Avoids chipped edges and torn paint lines |
| Waxing | Wait until full cure before waxing or polishing | Protects the finish without trapping solvents |
| Reinstall Hardware | Reinstall only after paint can handle pressure and fasteners | Prevents imprinting and cracking |
| Trailer Contact Points | Shift boat to paint under bunks or rollers after initial cure | Ensures full hull protection and even coverage |
Blank

Bottom Paint Guide
Blank
How to Bottom Paint Guide
Blank

How to topside Paint Guide