


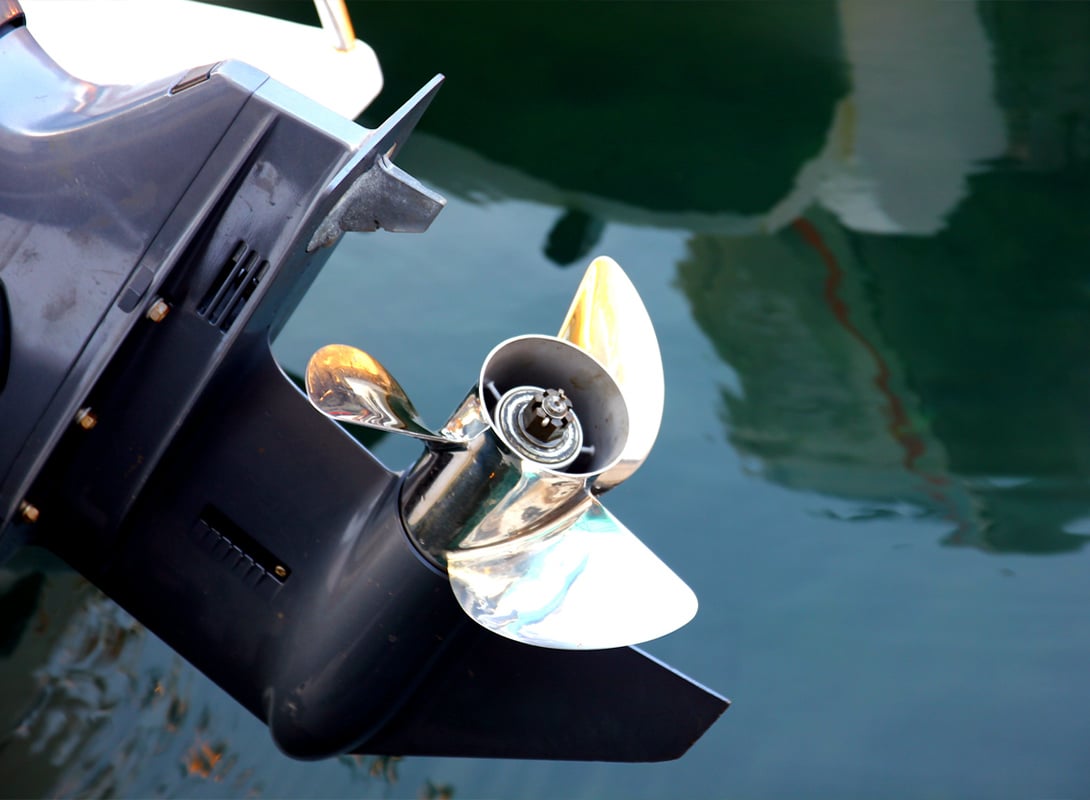
How to Change an Outboard Motor Propeller
Changing an outboard propeller is a core skill every hands-on boater should have. Whether your outboard motor is gas or electric, changing the propeller is a quick, straightforward job that, once you’ve done it once, you won’t hesitate to handle again yourself in the future..
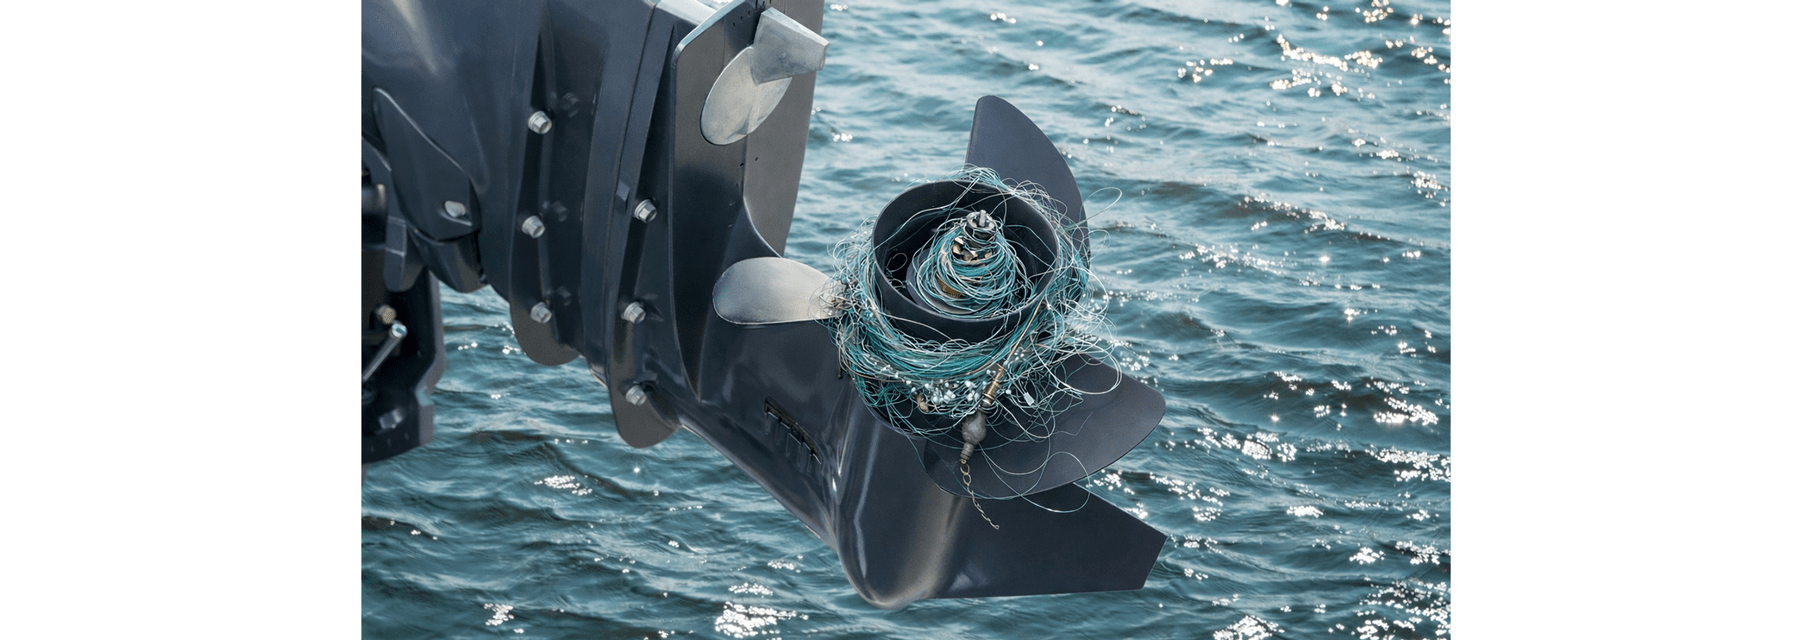
Many prop swaps start with either a problem or an opportunity. Maybe you tagged a rock or wrapped fishing line around the shaft, or maybe you’re upgrading for better hole shot, towing power, or fuel efficiency.
This job comes up during routine winterizing and motor maintenance, when the boat is out of the water, and when inspecting the motor’s lower unit before storage. Either way, the process is the same, and doing it right using the steps in this guide helps prevent bigger headaches later.
Tools & Parts You’ll Need
Before you start turning wrenches, make sure you have the right tools and parts on hand. When everything is laid out and within reach, a prop change is a fast, straightforward job instead of a half-finished headache. The list below covers what you’ll need to remove the old prop, inspect the lower unit, and install the new one the right way.
- Replacement Propellers: Select a prop by engine brand, horsepower range, shaft size, and rotation first, then refine by material, diameter, and pitch to match your performance goals.
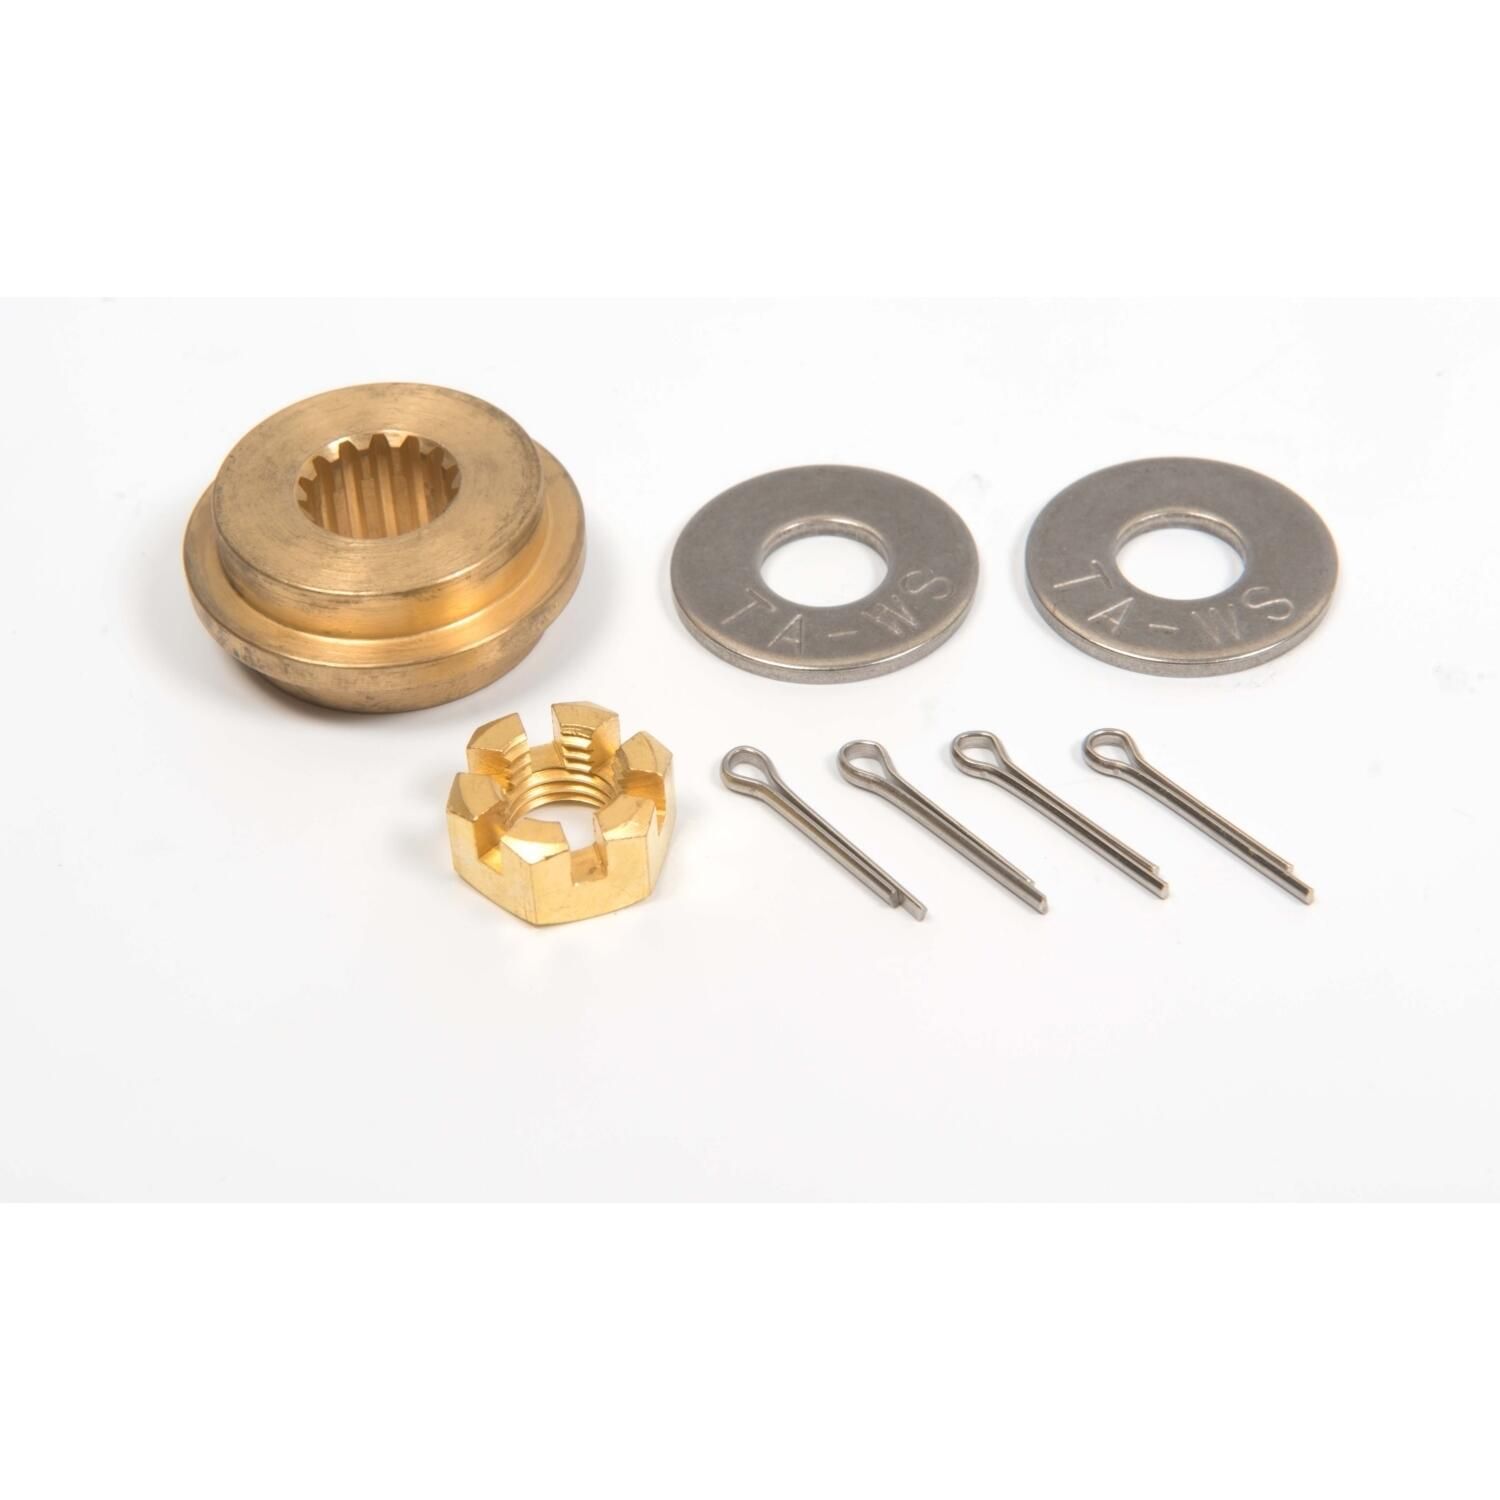
- Prop Hardware Kits: Choose a hardware kit that matches your outboard brand and prop shaft size, and includes the correct prop nut, thrust washer, spacers, and locking components.
- Cotter Pins or Locking Tabs: Buy locking hardware sized to your prop shaft diameter and nut type, and always replace it with new hardware during installation.
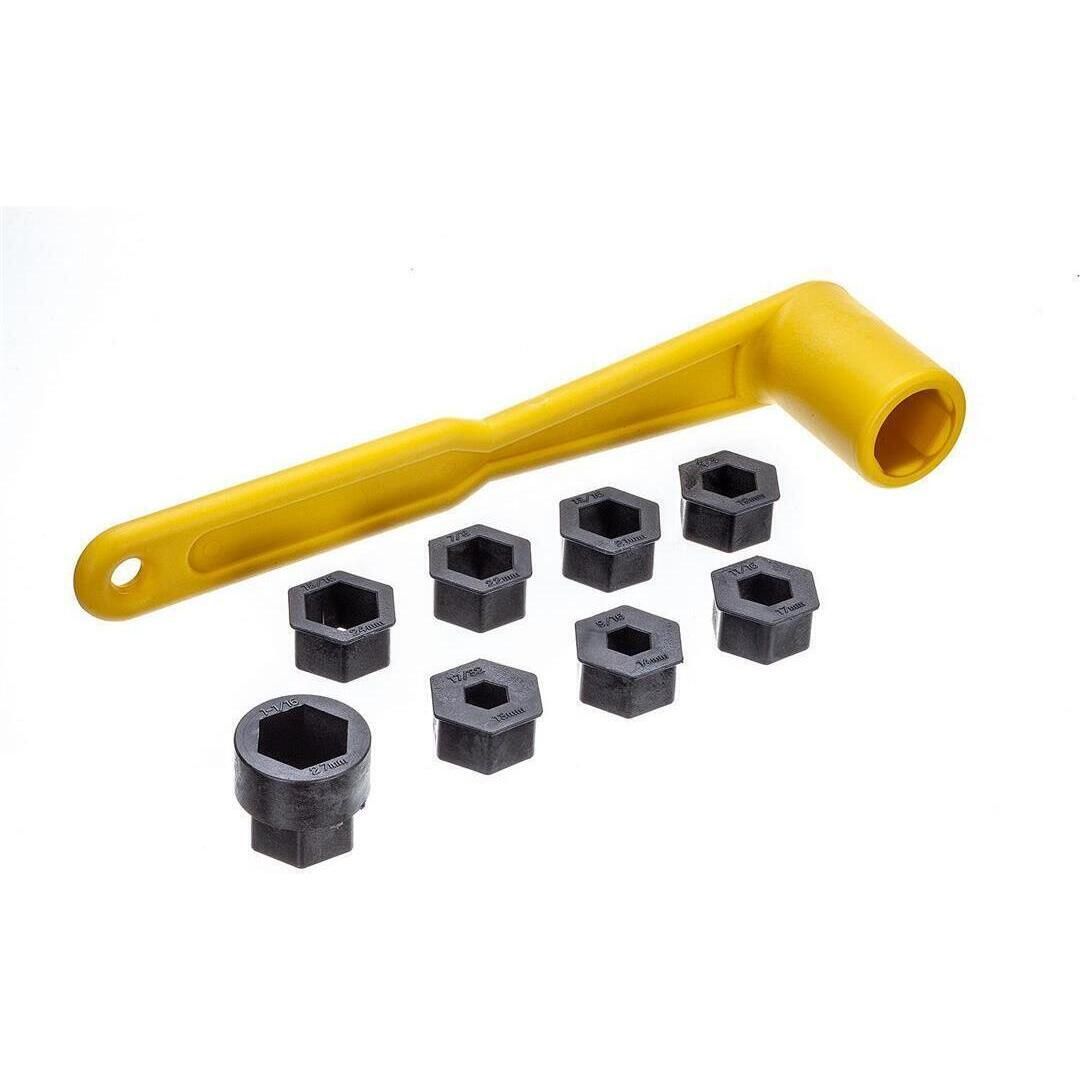
- Prop Wrench: Use a prop wrench designed for your prop nut size and outboard type to ensure safe removal and proper tightening.
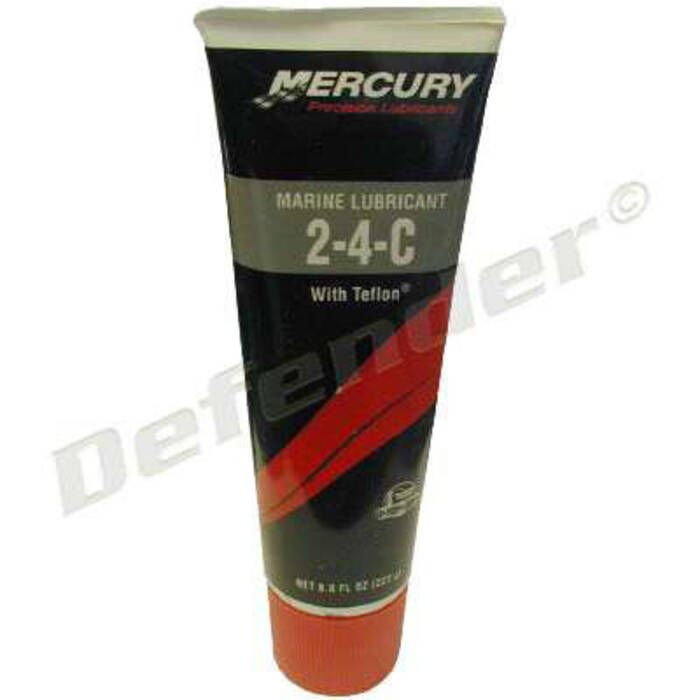
- Marine Grease: Look for waterproof, corrosion-resistant marine grease rated for prop shafts and underwater hardware, especially for saltwater use.
- Needle-Nose Pliers: A quality pair of corrosion-resistant needle-nose pliers makes removing and installing cotter pins easier and more controlled.
- Lower-Unit Gear Lube: Select gear lube specified for your engine brand and lower-unit type, paying attention to viscosity and formulation requirements.
- Anodes: Choose anodes by material and application, matching zinc, aluminum, or magnesium to your water type and lower-unit compatibility.
- Prop Shaft Service Kits: Match the service kit to your engine make and model to ensure correct seals, washers, and components if wear or corrosion is found.
Shop Propeller Maintenance

Step-By-Step: How to Change an Outboard Prop
Changing an outboard prop isn’t complicated, but the order matters. The steps below follow the same process you’d use at the dock or in the driveway, with no shortcuts. Take it one step at a time, and you’ll end up with everything back together and secured the right way.
Step 1: Make It Safe
Before you touch the prop, shut the engine off completely, then remove the kill switch lanyard and shift the motor into neutral. This sequence eliminates any chance of an accidental start while your hands are near the blades. In other words, it locks the system down before you begin.
If the boat is on a trailer, chock the wheels and confirm the trailer is stable on level ground. That way, the boat won’t roll or shift while you’re leaning into the prop. This setup is the baseline for working safely around the drivetrain.
Step 2: Remove the Cotter Pin or Locking Tab
Once everything is secure, start by looking at how the prop nut is locked in place. Most outboards use either a cotter pin through the prop shaft or a locking tab washer bent over the nut. Which one you have depends on the engine brand and model.
Yamaha, Honda, and Suzuki commonly use a cotter pin, which needs to be straightened and pulled out with needle-nose pliers. Mercury and Evinrude often use a tab washer that must be bent flat before the nut can turn. Either way, remove the locking hardware carefully and plan to replace it, since reusing bent or fatigued parts is asking for trouble.
Step 3: Loosen & Remove the Prop Nut
With the locking hardware out of the way, fit a prop wrench onto the prop nut and break it loose. At this point, hold the prop firmly to keep it from spinning while you turn the wrench. Do not grab sharp blade edges, since that’s an easy way to cut yourself or lose control.
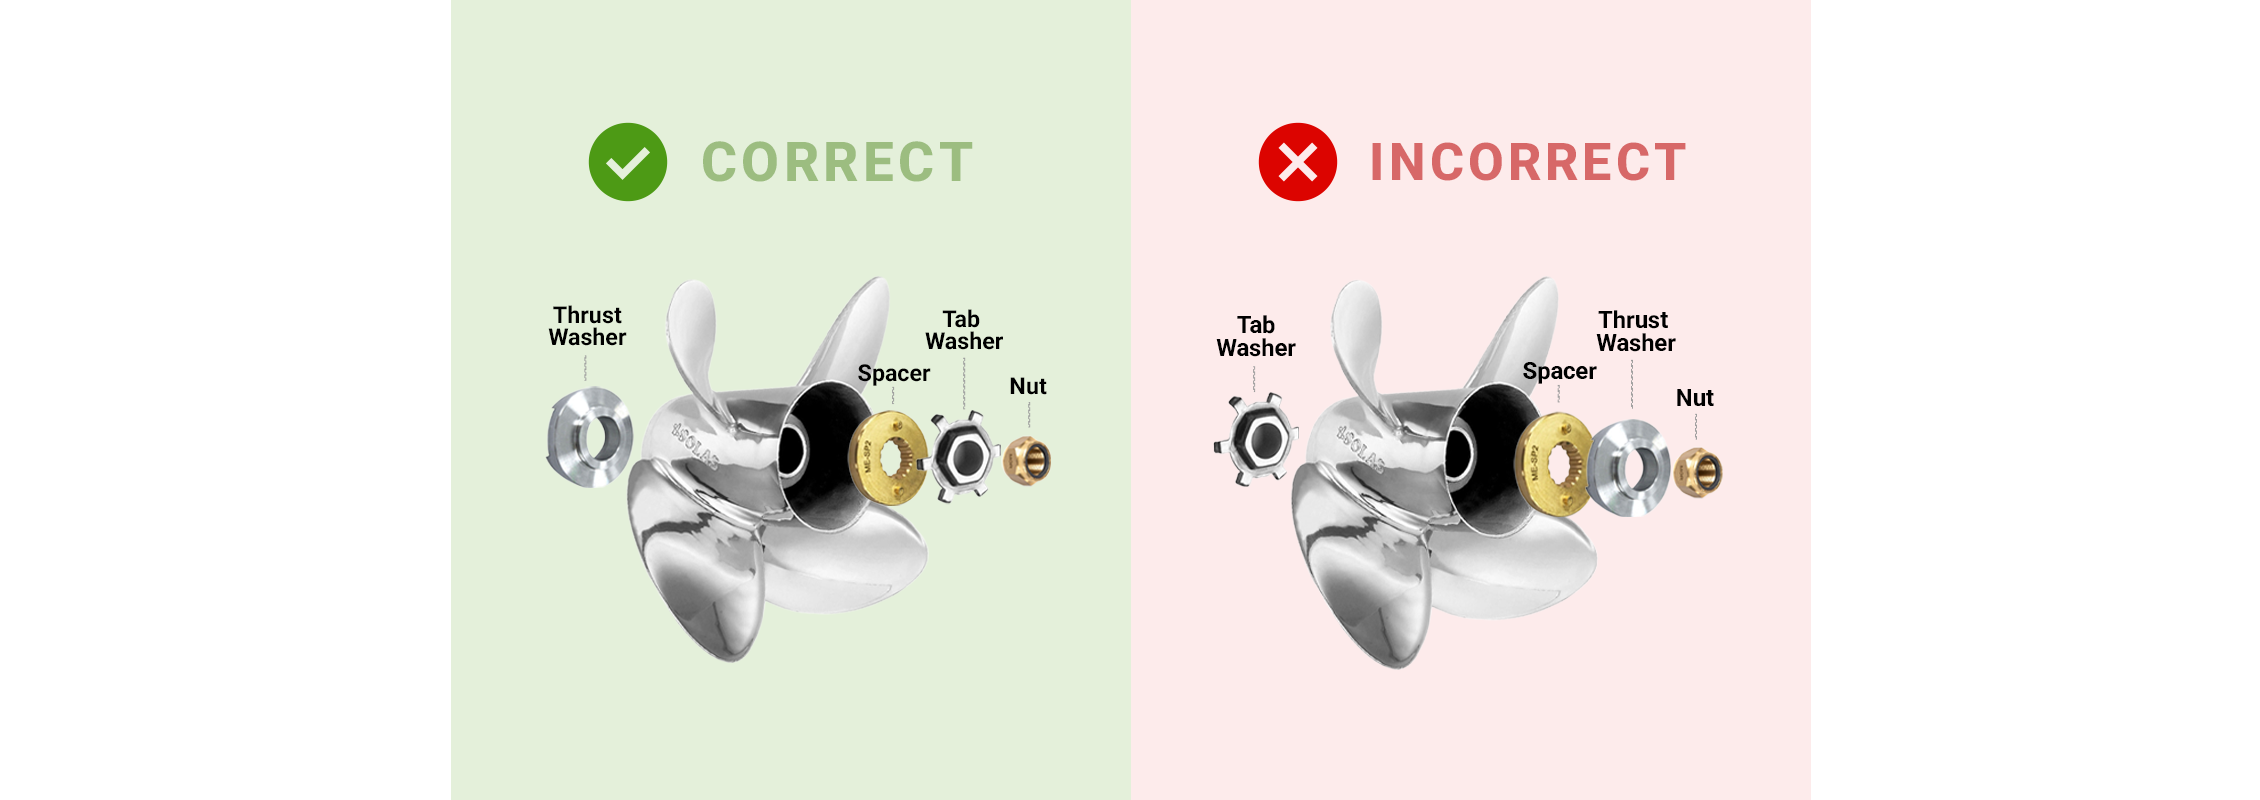
As the nut comes off, keep track of the order and orientation of any washers underneath. These parts matter, and putting them back incorrectly can cause vibration or damage later. Once the nut is free, set it aside in a clean spot so nothing gets lost before reinstalling the prop.
Step 4: Slide Off the Prop & Inspect Components
With the prop nut removed, slide the prop straight off the shaft. As you do, pay attention to how it comes off and don’t force it, since resistance can point to corrosion or debris. Once the prop is free, set it aside where it won’t get dinged or damaged.
Now inspect everything that’s exposed before moving on. Check the thrust washer for cracks or deformation, look closely at the prop shaft for wear or corrosion, and remove any fishing line wrapped around the shaft, since it’s a common cause of lower-unit seal failure. If you spot corrosion, damaged seals, or signs of contaminated oil, this is the right moment to service the lower unit and refresh the gear lube before reinstalling the prop.
Step 5: Clean & Grease the Prop Shaft
Before installing the new prop, wipe the prop shaft clean with a rag to remove old grease, grime, and salt residue. This gives you a clear look at the shaft and keeps contaminants from getting trapped during reassembly. A clean shaft also makes it easier to spot corrosion or wear you might have missed.
Once clean, apply a light, even coat of proper marine grease to the entire shaft. Marine-grade grease is designed to resist water intrusion and corrosion, which is especially important for saltwater anglers. Done correctly, this step prevents the prop from seizing and makes future removal far easier.
Step 6: Install the New Prop
With the shaft greased, slide the new prop onto the shaft and align the splines carefully. It should seat smoothly without forcing it, which tells you everything is lined up correctly. If it doesn’t slide on easily, back it off and realign before going further.
Next, reinstall the thrust washer and remaining hardware in the same order they came off. Thread the prop nut on and tighten it to the manufacturer’s torque specification, using a torque wrench if possible. Following the correct torque range keeps the prop secure without overstressing the shaft or hardware.
Step 7: Install Cotter Pin or Locking Tab
Once the prop nut is torqued correctly, secure it with a new cotter pin or locking tab. If you’re using a cotter pin, slide it through the shaft and bend the ends back cleanly, and for tab washers, bend the tab firmly against the flat of the nut. This final step keeps the nut from backing off under load.
Do not reuse old locking hardware, even if it looks serviceable. These parts are designed for one-time use and cheap insurance against a lost prop. Keeping spare cotter pins or locking tabs onboard is a smart move and makes quick repairs possible away from the dock.
Step 8: Spin Test
Before you call the job done, spin the prop by hand to make sure it turns freely. It should rotate smoothly without grinding, binding, or rubbing against the lower unit. Any resistance is a sign something isn’t seated correctly.
As the prop spins, watch for wobble or side-to-side movement. The prop should run true on the shaft with no visible play. If anything does look off, stop and correct it now, because problems only get worse once the engine is running.
How to Choose the Right Replacement Prop
Choosing the right prop starts with what you want to change about how the boat runs. Sometimes you’re replacing damage, and other times you’re looking for better hole shot, stronger pull, or improved fuel efficiency.
From there, focus on the fundamentals that shape performance. Aluminum props are affordable and forgiving, stainless props are stronger and more precise, and details like diameter, pitch, blade count, and cupping control how the boat accelerates, carries load, and holds grip.
Finally, match the prop to how you actually boat, whether you’re a bass angler chasing hole shot with a performance-focused prop or a family cruiser looking for a more efficient OEM-style option. Once you’ve narrowed that down, the last step is confirming the correct fit for your specific outboard.
Signs You Need a New Prop
Often, the first thing you’ll notice is a slow or sluggish hole shot. If the boat struggles to get on plane or feels heavy under load, that’s usually the prop telling you it’s no longer working efficiently.
Beyond acceleration, pay attention to how the boat feels underway. Excessive vibration, visible dings, bent blades, or cavitation burn marks are clear indicators the prop is damaged or out of balance, and continuing to run it only adds stress to the drivetrain.
Finally, look at overall engine behavior and fuel use. If the engine starts over-revving, fuel efficiency drops for no clear reason, or handling feels off at speed, those symptoms often point back to a prop that’s worn, mismatched, or due for replacement.
Troubleshooting Stuck Props
Sometimes a prop won’t slide off easily, especially if it’s been sitting in saltwater or left untouched for years. When that happens, start by applying penetrating fluid and giving it time to work, since forcing it early usually makes things worse.
If the prop still won’t move, then controlled force is the next step. Light taps with a rubber mallet can help break corrosion loose, and while heat can work, it should be used carefully because too much can damage seals and finishes.
When basic methods fail, it’s time to step back and reassess. A proper prop puller is safer than prying, and if corrosion is severe, it’s a sign to address anodes and corrosion protection before reinstalling a new prop.
Safety Tips & Common Mistakes
First and foremost, never run an engine with a prop partially installed. Even a quick test can damage threads, hardware, or the lower unit itself.
Likewise, don’t cut corners on hardware. Bent cotter pins and locking tabs are designed for one-time use, so replacing them every time is cheap insurance against losing a prop.
Finally, pay attention to how everything goes back together. Mixing incompatible thrust washers or incorrect hardware may seem minor, but it can lead to vibration, premature wear, and costly drivetrain damage.
Why Prop Changes Fit Into Winterizing
Prop changes naturally fit into winterizing because the boat is already out of the water and accessible. More importantly, removing the prop gives you a clear view of the prop shaft and seals, where fishing-line cuts often go unnoticed and cause failures over the winter.
At the same time, this is when lower-unit service makes the most sense. Since the prop is already off, changing gear lube and checking for water intrusion or seal damage becomes part of one efficient maintenance window instead of a separate job later.
In many regions, prop removal is also a practical requirement for storage and storm preparation, alongside tasks like battery storage. Taking the prop off reduces snag hazards on trailers, covers, and dock lines, which is why it’s commonly rolled into broader winter and storm prep routines before the boat is put away.
Video on how to change an Outboard Motor Propeller

Frequently Asked Questions
For most outboards, changing a prop takes about 10 to 20 minutes with the right tools on hand. The first time may take a little longer, but it’s still one of the quickest DIY jobs you can do.
Yes, always use marine-grade grease on the prop shaft during installation. It prevents corrosion, protects the shaft, and makes future prop removal much easier, especially in saltwater.
The prop must match your engine’s horsepower range, shaft size, spline count, and rotation. Once you’ve chosen the right type of prop for your boating style, confirming fitment for your specific outboard ensures everything installs and runs correctly.
Poor performance is usually caused by incorrect pitch, diameter, or blade design for your boat and load. Installation errors, reused hardware, or mismatched thrust washers can also affect how the prop runs.
You don’t have to, but winterizing is one of the best times to do it. With the boat out of the water, prop removal allows you to inspect seals, service the lower unit, and store the boat safely without snag or corrosion risks.