


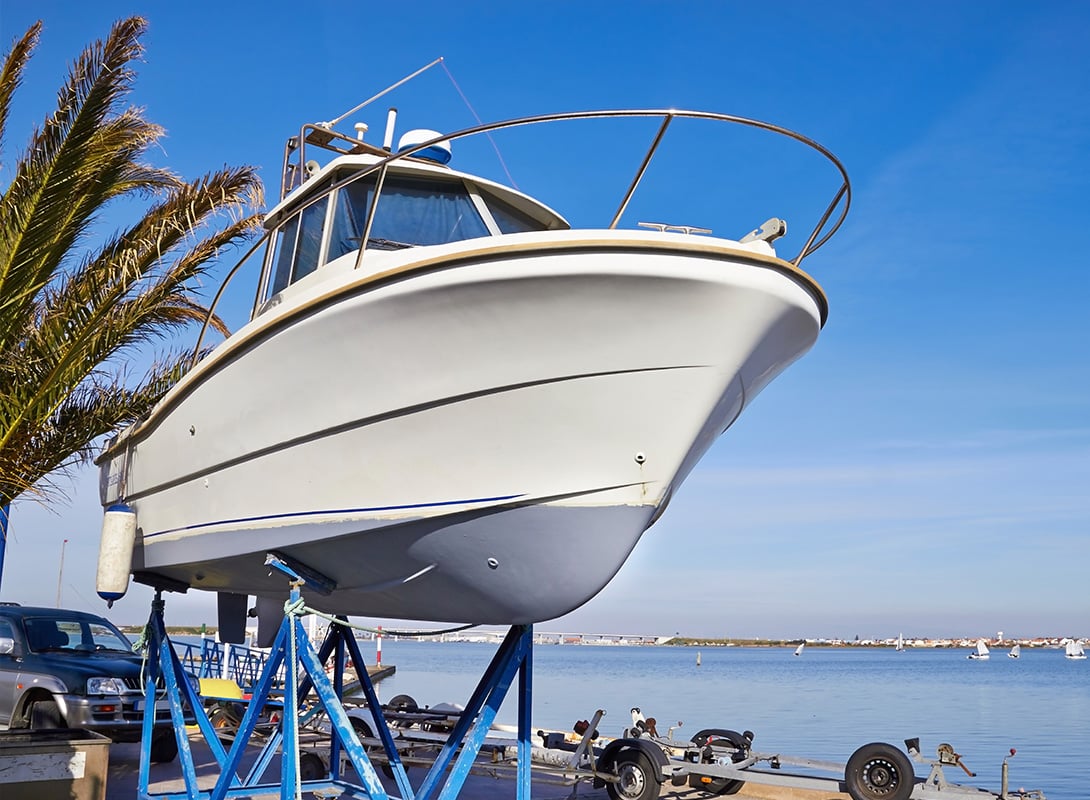
How to Paint the Topside of Your Boat (Complete DIY Guide)
Topside painting is one of the most visible upgrades you can make to your boat, and one of the easiest to get wrong if you rush or guess your way through. A finish that lasts comes down to three fundamentals: the right paint, proper surface prep, and proven application techniques.
| Paint Type | What It’s Best At | Tradeoffs |
| 1-Part Topside Paints | Easy application, good gloss for the effort | Shorter lifespan, less abrasion resistance |
| 2-Part Polyurethanes (LPUs) | Maximum durability, long-term gloss retention, chemical resistance | Demands strict prep, limited working time, less forgiving |
| Boat Type | Primary Abuse | Paint Type That Makes Sense |
| Sailboats | UV exposure, long sun hours | Durable 1-part or 2-part with strong UV resistance |
| Powerboats | Dock rash, handling wear, UV exposure | Tough 1-part or an entry-level 2-part |
| Trailer Boats | Abrasion, repeated use | Fast-drying 1-part paints |
| Motor Yachts | Appearance, longevity | Premium 2-part polyurethanes |
| Factor | Typical Figure | What It Means in Practice |
| Coverage rate (1-part topside paint) | ~400–450 sq ft per gallon | One gallon covers a 25–30 ft boat’s topsides per coat, depending on freeboard height |
| Coverage rate (2-part LPU) | ~450–500 sq ft per gallon | Slightly better spread, but less forgiving if applied too thin |
| Recommended coats | 2–3 coats | Two coats minimum; three for darker colors or maximum durability |
| Dry film thickness per coat | ~1.5–2.0 mils | Thin, even coats build durability without trapping solvent |
| Total target film thickness | ~3–6 mils (all coats combined) | More than this risks cracking; less shortens lifespan |
| What You’re Doing | Product Category | Why It Matters |
| Pick your coating | Topside Paints | One-part vs two-part, gloss, durability, and compatibility all start here. |
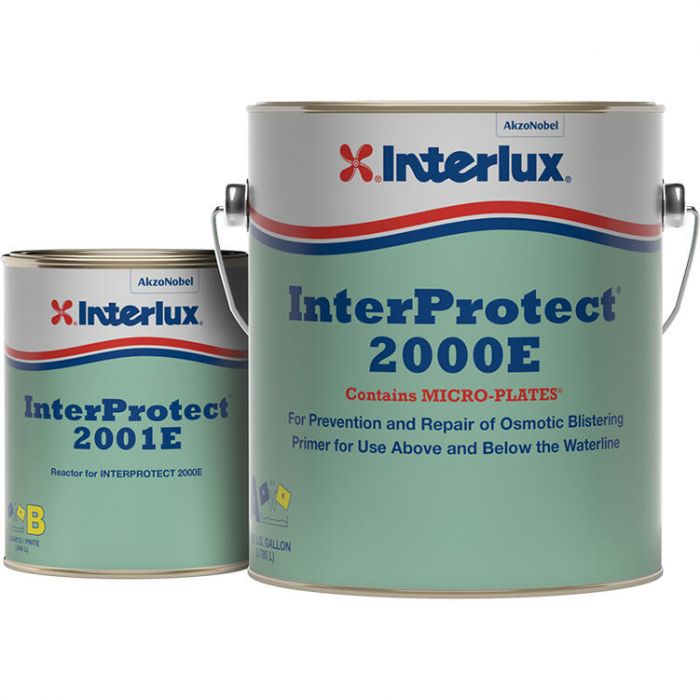
| Make paint stick | Marine Primers | The right primer prevents lifting, improves adhesion, and evens out sanding scratches. |
| Clean before paint | Solvents & Surface Prep Cleaners | Removes wax, oils, and residue that cause fish-eyes and adhesion failure. |
| Sand without regrets | Sandpaper & Abrasives | Correct grits speed prep and prevent swirl marks telegraphing through the finish. |
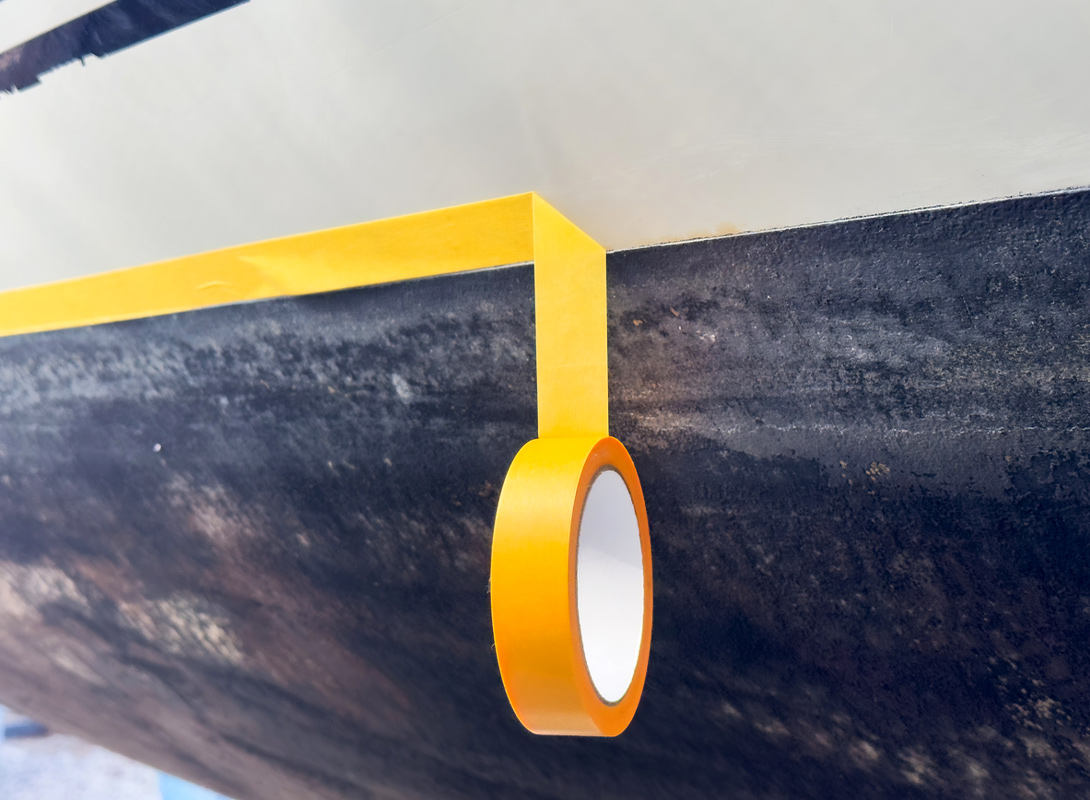
| Mask sharp lines | Masking Tape & Masking Film | Clean edges and faster cleanup, especially around hardware and boot stripes. |
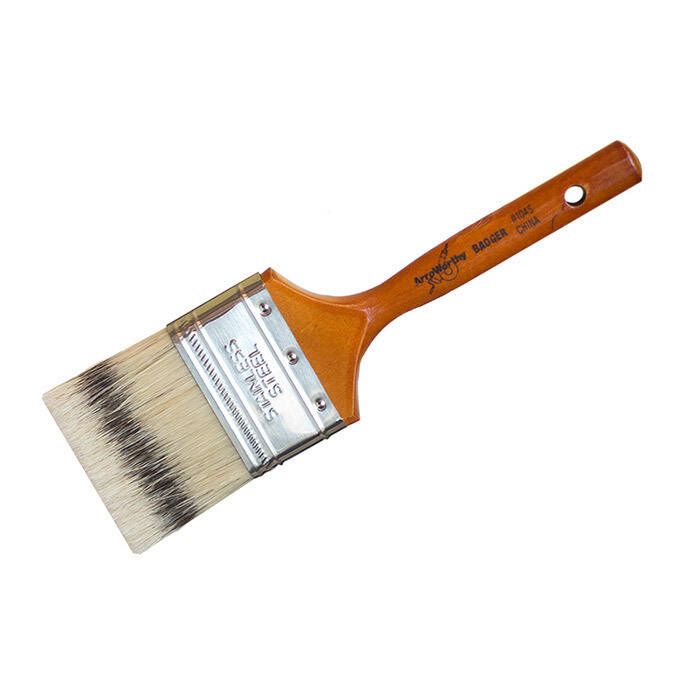
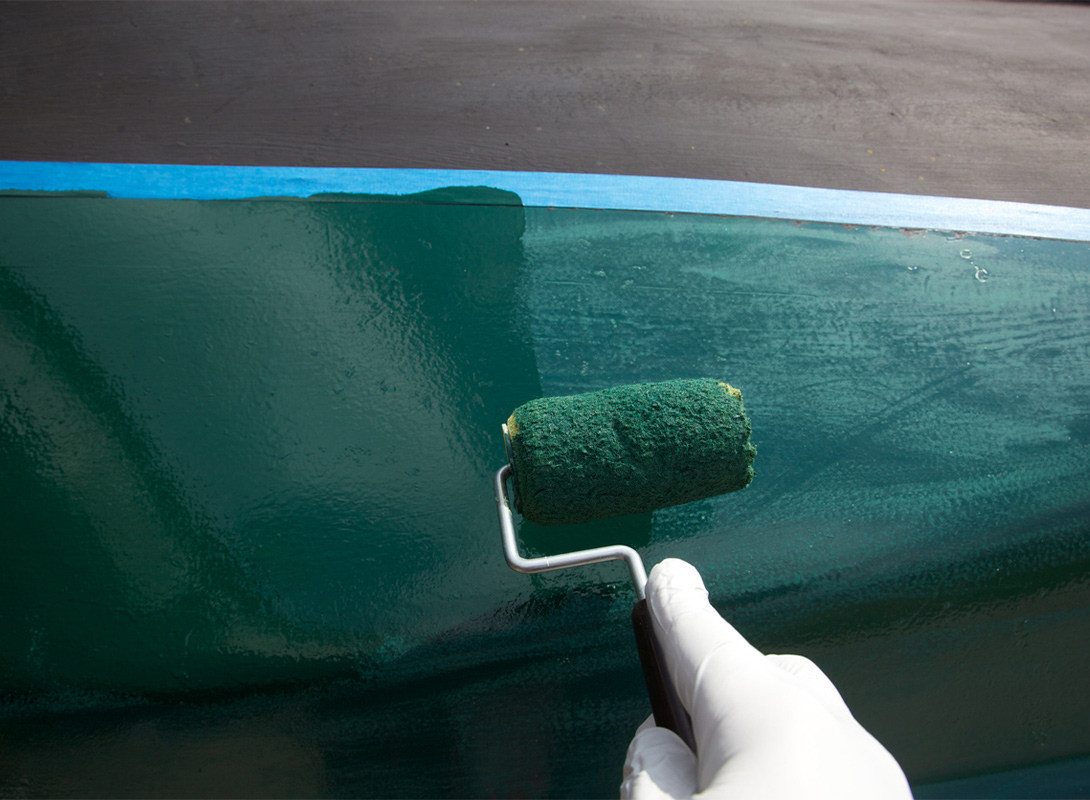
| Apply paint cleanly | Rollers, Brushes & Trays | Rolling and tipping lives or dies on roller quality and a brush that won’t shed. |
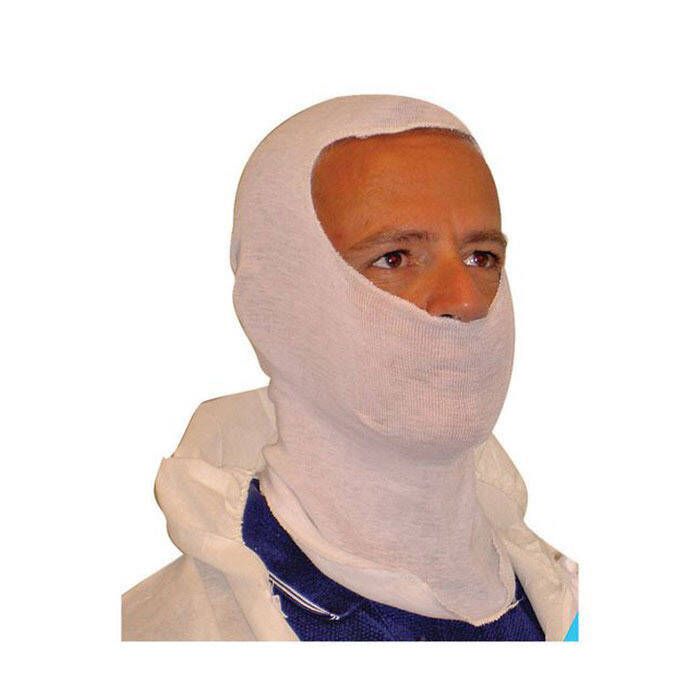
| Stay safe | Respirators, Gloves & PPE | Solvents and coatings are not harmless, and sanding dust adds up fast. |
| Add grip (decks) | Non-Skid Additives & Deck Paint | Prevents slick decks. (Some paint may even contain non-skid.) |
| Step | What to Do | How to Do It | Done When… |
| 1 | Wash and dry | Scrub with marine soap and water to remove salt and grime, then rinse and let the surface dry completely. | Water sheets cleanly and no moisture is trapped around fittings or seams. |
| 2 | Dewax and degrease | Wipe down with a proper surface prep solvent using the two-rag method to lift and remove waxes and oils. | Wipe rags stay clean and the surface feels residue-free. |
| 3 | Sand to degloss | Sand the entire surface to a uniform dull finish using the grit recommended by the paint system. | No shiny spots remain and the scratch pattern is consistent. |
| 4 | Fair and fill | Repair chips, gouges, and pinholes with the appropriate filler, then sand smooth once cured. | Repairs blend smoothly and cannot be felt by hand. |
| 5 | Final clean and dust control | Vacuum thoroughly and do a final wipe or tack step before masking or priming. | The surface is clean, dry, and ready for paint without dust or fingerprints. |
| Primer Type | Use It When… | Why It’s the Right Choice |
| Epoxy Primer | You have bare fiberglass, exposed repairs, or mixed substrates. | Provides maximum adhesion, seals the surface, and creates a stable base that prevents lifting and edge mapping. |
| Primer | The existing surface is sound and properly sanded, and you need build and sandability before topcoating. | Levels minor imperfections and smooths the surface without the added complexity of a multi-part primer. |
| Key Element | What to Do | Why It Matters |
| Section size | Work in small, manageable sections | Helps maintain a wet edge and prevents lap marks |
| Workflow | Use a two-person approach when possible | One person rolls paint on, the other tips it before it flashes |
| Wet edge | Always tip into wet paint | Prevents drag marks and uneven texture |
| Overlaps | Plan overlaps at natural breaks | Avoids visible stop-start lines on large panels |
| Brush pressure | Tip lightly, then stop | Overworking causes marks and pulls paint |
| Key Element | What to Do | Why It Matters |
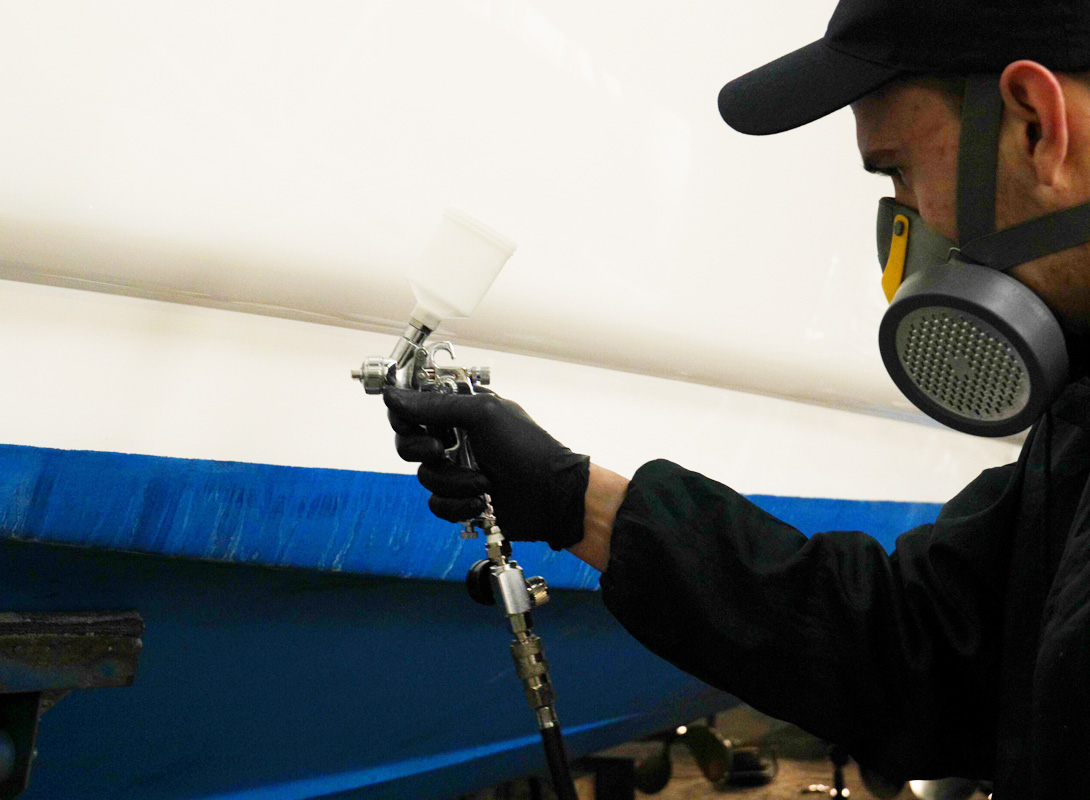
| Distance | Maintain consistent gun distance | Uneven distance causes sags or dry spray |
| Pressure | Set pressure per gun and coating specs | Too much pressure creates overspray and texture |
| Thinning | Thin only within manufacturer limits | Over-thinning weakens film build |
| Pass overlap | Use consistent overlap on each pass | Ensures even coverage and color |
| Safety | Use professional-grade respiratory protection | Two-part LPUs contain hazardous isocyanates |
| Boat Type | What Matters Most | Paint Considerations | Related Guide |
| Sailboats | Long UV exposure, tight working spaces, deck traffic | Focus on UV-resistant finishes, manage chalking on older gelcoat, and plan carefully around non-skid and hardware-dense areas. | Sailboat Storm Prep Guide |
| Power & motor yachts | Appearance, large surface areas, long sight lines | High-gloss finishes reward careful prep and consistent application; plan work in sections to maintain a wet edge across long hull sides. | Motor Yacht Storm Prep Guide |
| Trailer boats | Abrasion from bunks, straps, and frequent handling | Fast-dry, tough one-part paints are often the most practical choice for quick turnarounds and easy touch-ups. | Trailer Boat Storm Prep Guide |
| Problem | What It Looks Like | Common Causes | How to Fix It |
| Orange peel | Pebbled or dimpled texture instead of smooth gloss | Paint too thick, poor leveling, incorrect roller or spray setup, painting in heat | Apply additional primer coats and sand between each coat. |
| Sagging or runs | Paint droops or curtains as it cures | Too much paint applied, slow flash-off, working vertical surfaces too aggressively | Apply thinner coats, reduce overlap, work in smaller sections, and allow proper flash time between passes |
| Brush marks | Visible strokes or drag lines in the finish | Overworking the paint, cheap brushes, tipping after paint has started to set | Use quality brushes, tip lightly and once, and stop touching the surface once it starts to level |
| Poor adhesion | Peeling, lifting, or flaking paint | Inadequate sanding, contamination, incompatible coatings, missed primer | Strip or sand back to sound material, clean thoroughly, prime correctly, and confirm compatibility before recoating |
Blank
The Complete Guide to Boat Bottom Paint
Blank
How to Bottom Paint Your Boat
Blank
How to Paint a Fiberglass Boat